Category: Lifestyle

Homeschool for Empty Nesters

Boredom Busters

I’m so grateful for all the free and low-cost resources available to us during this challenging time! So many options for keeping the heart, mind, and body busy. Granted, there are still plenty of days when I can barely get myself off the couch to get to the fridge. But even those days can be victories if I stop at three slices of homemade bread with butter and honey, right?

Online Options

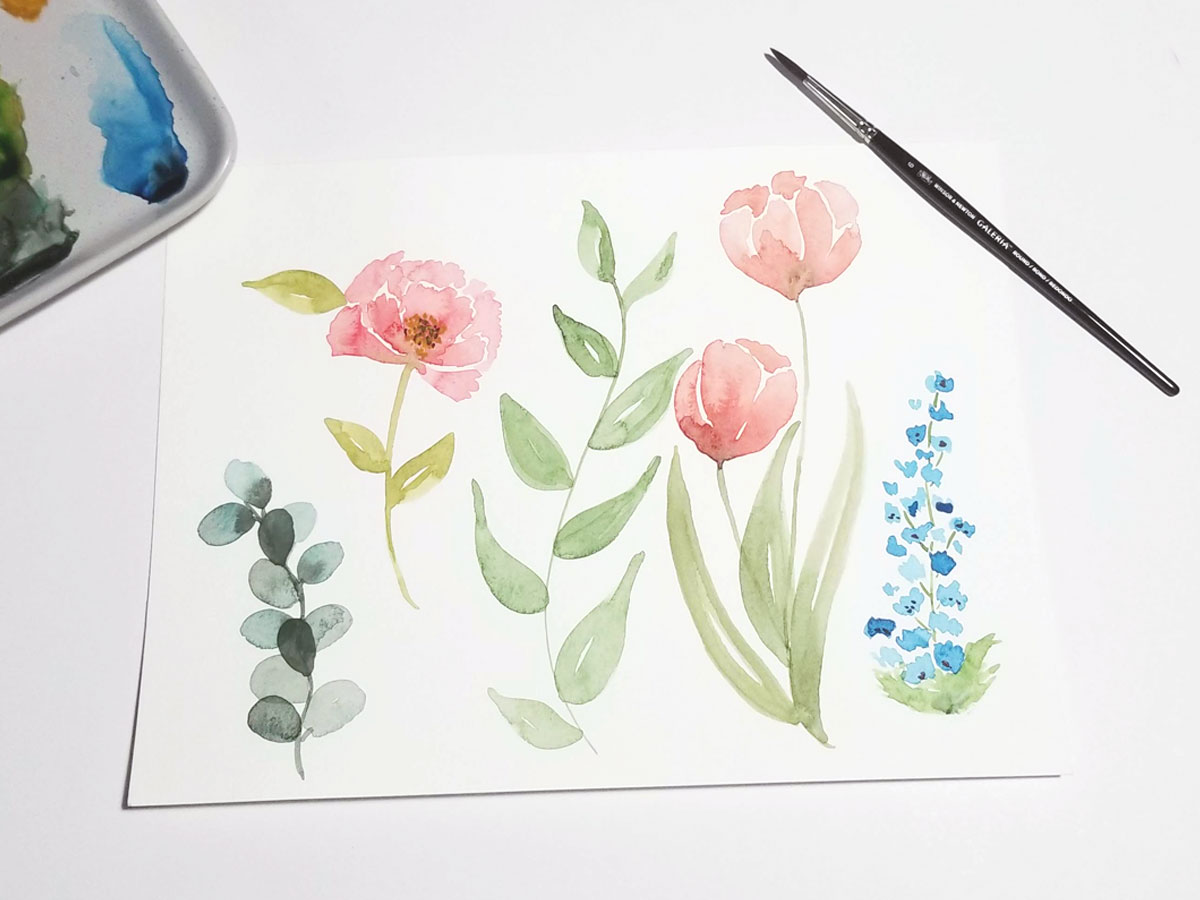
I took a cue from my friend, Morgan, at Morgan Victoria Designs and found a place on my desk for a couple of small watercolor paint palettes, brushes, and two pads of watercolor paper. Now I can just pull out those few items and practice every time I have a few minutes. I also signed up for a Skillshare account so I have a huge variety of subjects to study whenever I feel up to it.

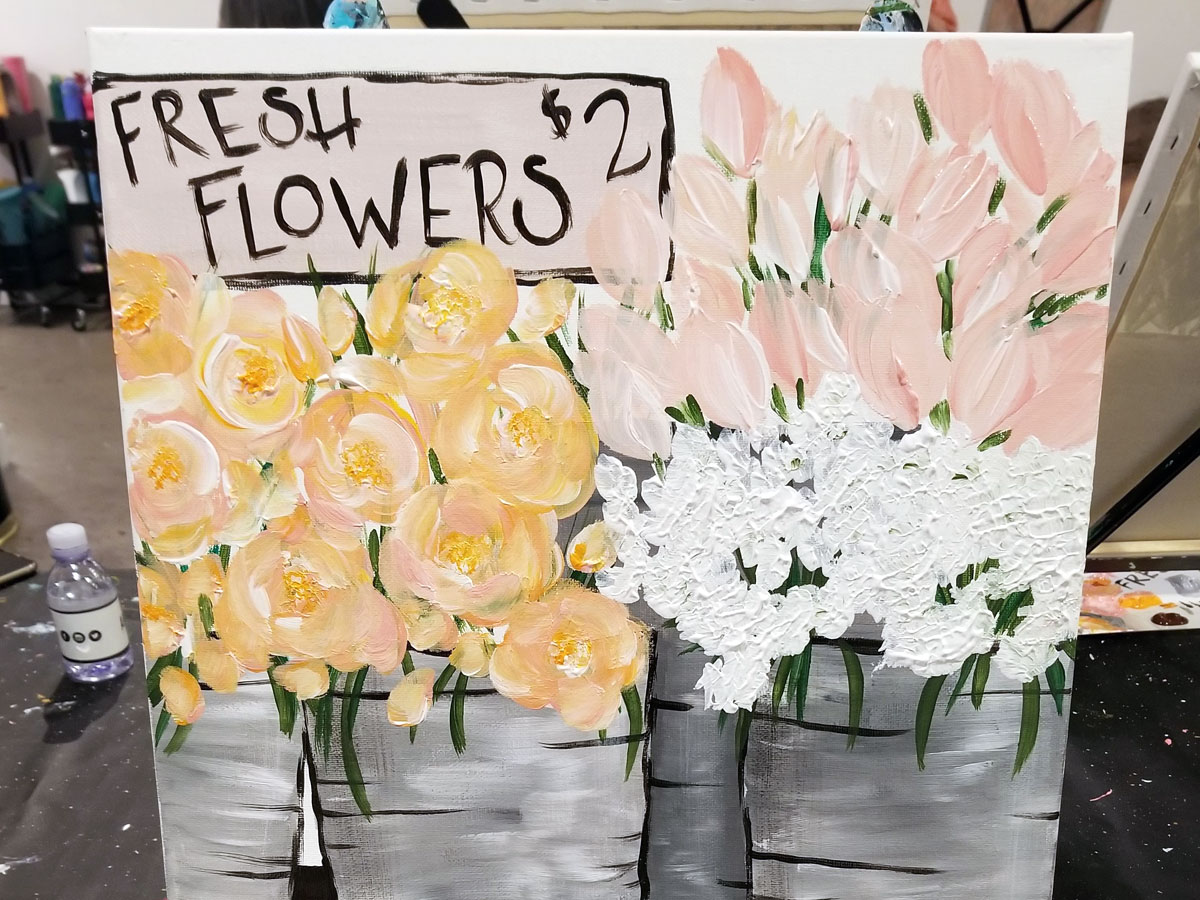
My favorite artsy place to hang out, The Art House, has temporarily closed it’s brick and mortar studio, but they are offering some online options. Morgan created this little gem of a watercolor class to create a few sweet blooms for spring.

New Hobby

The very first time I played with watercolor was in a class at The Art House with Morgan. The subject was a wonderful lone pumpkin and I was hooked from the first moment the class started! Up to that point I would emphatically tell people I could not draw. But I soon realized that taking it step by step made it totally doable! Morgan is a great teacher very patience and encouraging.

After that first class I started investing in supplies and finding ways to include watercolor in the handlettered pieces I created. And I have continue to play with this super fun, though challenging, medium. Have you dabbled in watercolor? I’d love to know more!

My Happy Place – for Now

Temporary Quarters

During this time when Garret and I are sharing an office/studio/gym space, I find myself occasionally needing a break. Garret has been co-located or worked out of our home (when he owned his own business) for a couple of decades, so we’re pretty good at giving each other space. But in our temporary living situation, there’s not a lot of space to give.

When we made this particular move, we knew it was short term – probably about one year – but we also knew there was a lot of “stuff” that we didn’t want to take with us to our new more permanent space after the year was up. We also didn’t have a lot of time to make some pretty big decisions about what to take with us immediately, what to store, what to gift to others, and what to let go of. We had already been working on de-cluttering our lives, which was a true blessing, but there are so many things we quit looking at when we live in a space for any amount of time. For the year previous to our move, we had challenged ourselves to eliminate one trash barrel full of things a week. Before you get after me, we didn’t necessarily throw a trash barrel worth of stuff away; we just made that our size reference. The items may have truly been trash, or they may have been recyclables, giveaways, etc. That was just the quantity we shot for. Then, when we moved to the condo we’re in now, we brought with us only what we thought we would need. The remaining items we had kept went into storage.

Tight Fit

As grateful as we are for our little condo, we are stuffed in here pretty tight. Most of my art and craft supplies are stored in boxes in a closet. When I want to do something, I need to dig through boxes to find my supplies. That makes it a bit challenging to be motivated, to be honest.

That’s where The Art House in Gilbert has saved me.

Saving Place

Right now The Art House is my “studio-away-from-studio” and I love it! I feel like I have truly made friends with many of the people who work there and they have unofficially assigned me a seat right up front. I can sign up for watercolor, acrylics, or cookie decorating classes. They occasionally add something else of interest; I recently signed up for a floral arrangement workshop. I learn something new with every class and for two hours I don’t have to look for supplies or even think about what to paint. I just listen, learn, practice, and calm my artistic heart. It’s heaven!

“Perfect” Valentine’s Day Sugar Cookies

Something “Old”

I had a lot of fun practicing my (amateur) cookie decorating skills this week. February is my husband’s birthday, Valentine’s Day, and our anniversary. Lots of reasons to celebrate with love-themed goodies!

I always make sugar cookies for Valentine’s Day and these Perfect Sugar Cookies with Red Hot Glaze are my sweetheart’s favorites. The cookies have a great balanced sweetness and wonderful texture – not too heavy, but strong enough to stand up to the glaze. And the icing starts with melted Red Hot candies – what’s not to love?!

Something New

I recently took a cookie decorating class from Markie of Honey & Heart Cookie Co. I’m no stranger to icing cookies and Markie gave us so much praise and encouragement that I felt totally comfortable trying her recipes for cookies and icing all by myself.

Oy.

Markie is a master. I’m not even really an apprentice!

But my cookies were still delicious and I’ll keep practicing those techniques because it was super fun. I’ve also signed up for another class with Markie at The Art House in Gilbert, AZ. If you’re in the area, I highly recommend The Art House and the cookie decorating classes.

Perfect Sugar Cookies

Perfect sweetness and wonderful, tender texture, these Perfect Sugar Cookies are great for icing or buttercream.
Prep Time 2 hours 30 minutes
Cook Time 9 minutes
Course Cookies & Bars
Cuisine Universal
Servings 2 Dozen

Ingredients
  

  • 1 C. butter softened
  • 1 C. granulated sugar
  • 2 eggs room temperature
  • 4 Tbsp. milk
  • 1 ½ tsp. vanilla
  • 3 ½ C. all-purpose flour

Instructions
 

  • In a large bowl, beat butter for 1 – 2 minutes until color lightens slightly.
  • Add sugar and beat until creamy.
  • Add eggs, milk, and vanilla and beat at medium speed until combined.
  • At low speed on the mixer, add flour one half cup at a time just until combined after each addition. Repeat until dough comes together and sides of the mixing bowl are clean. You may not need to add all of the flour.
  • Divide dough into two balls and roll each ball out between two sheets of parchment or waxed paper to about ½-inch and no thinner than ¼-inch. Place rolled dough still between parchment sheets on a baking sheet and chill in the fridge for at least 30 minutes. Meanwhile, preheat oven to 300°F.
  • Once chilled, remove one sheet of dough at a time from the fridge. Remove top layer of parchment or waxed paper, and cut dough with floured cookie cutters. Place cut cookies 2-inches apart on parchment-lined cookies sheets.
  • Bake cookies in a 300ºF oven for 8 – 10 minutes.

Notes

  • May add food coloring along with flour, if desired.
Keyword baked goods, cookies, cutout cookies, sugar cookies