All New Planner and Journal Printables!

I’m super excited to share that I am now selling digital downloads of some of my most popular journal and planner pages! I’ve […]

I’m super excited to share that I am now selling digital downloads of some of my most popular journal and planner pages! I’ve […]
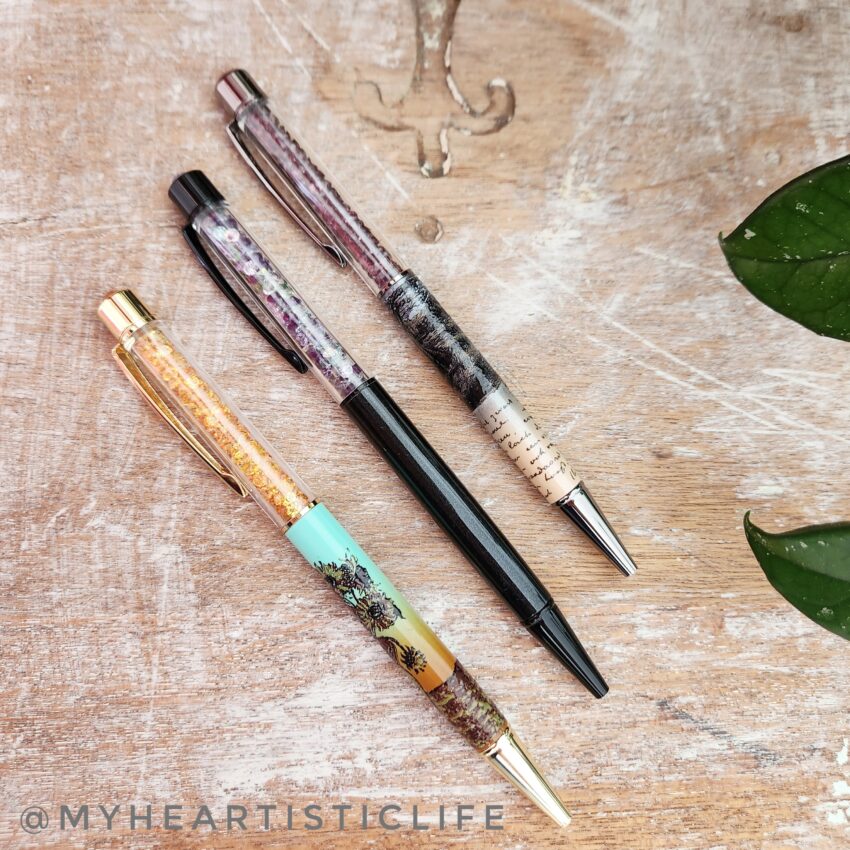
I’m going to call this a “Great Find Friday” post. 😏 Actually, I really just want to shout this company, @pengems, from the […]
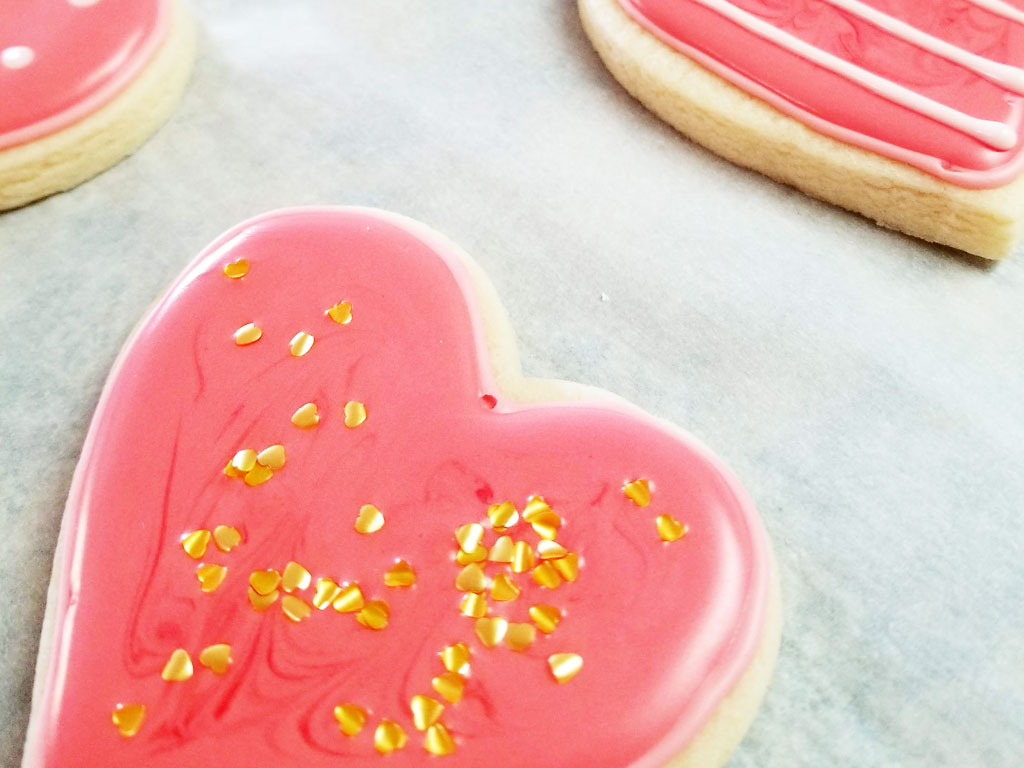
I had a lot of fun practicing my (amateur) cookie decorating skills this week. February is my husband’s birthday, Valentine’s Day, and our anniversary. Lots of reasons to celebrate with love-themed goodies!
I always make sugar cookies for Valentine’s Day and these Perfect Sugar Cookies with Red Hot Glaze are my sweetheart’s favorites. The cookies have a great balanced sweetness and wonderful texture – not too heavy, but strong enough to stand up to the glaze. And the icing starts with melted Red Hot candies – what’s not to love?!

I recently took a cookie decorating class from Markie of Honey & Heart Cookie Co. I’m no stranger to icing cookies and Markie gave us so much praise and encouragement that I felt totally comfortable trying her recipes for cookies and icing all by myself.
Oy.
Markie is a master. I’m not even really an apprentice!
But my cookies were still delicious and I’ll keep practicing those techniques because it was super fun. I’ve also signed up for another class with Markie at The Art House in Gilbert, AZ. If you’re in the area, I highly recommend The Art House and the cookie decorating classes.


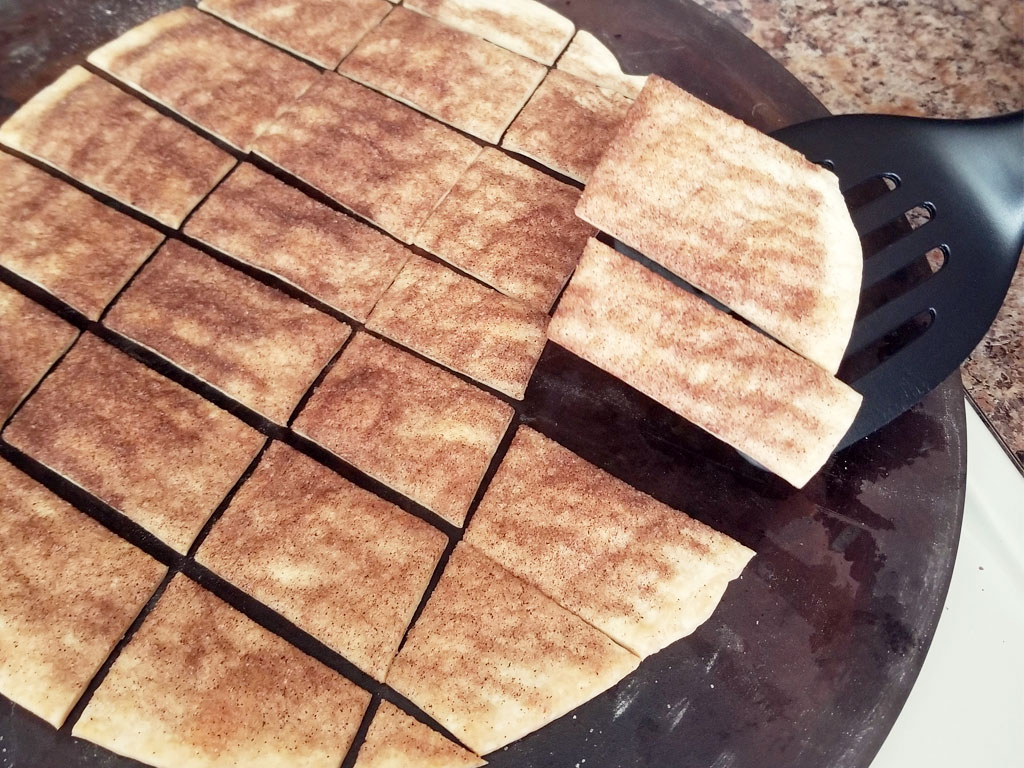
Cinnamon Pie Crust Cookies are one of my favorite “cookies”. A simple but amazingly addictive treat, Pie Crust Cookies are a great way to use up leftover pie crust dough. The pies themselves are mostly, “meh”, for me (I know how crazy that sounds to many of you), but pie crust! Now that can be turned into something delicious. Add a cup of hot cocoa or herbal tea and I’m a happy girl!
I’ve never been a huge fan of cooked fruit pies. While there is definitely a time and place for a great apple pie, most cooked fruit makes me kind of sad. So mushy.
I do enjoy making pies, though. Especially holiday pies. I love most cream pies and pecan pie is one of my all time favorites. When I was a little girl, I once told my Aunt Shirley I would not go to sleep until she made me a Chocolate Cream Pie. It was already past my bedtime but she did it! Aunts are the best.
But let’s get back to pie crust and these simple delights. While store-bought pie crust makes these delicious cinnamon cookies even easier, making the dough from scratch is easy and takes these cookies to the next level. I’ve included my favorite, simple pie crust recipe here, but feel free to use your tried-and-true recipe.
These cookies are easily modified and adapted to suit your family’s palate. Once baked and cooled a bit, I sometimes drizzle a simple vanilla glaze on top. The icing adds that extra bit of yum. It’s also fun to use cookie cutters to cut the cookies into shapes before baking. I have a friend who, instead of cinnamon, dusts hers with a bit of sugar and cocoa and some mini chocolate chips. And, if you’re into cooked fruit, you can definitely sprinkle some diced fruit on top before baking. So many fun possibilities!
Do you guys make something like this? What’s your family’s version?
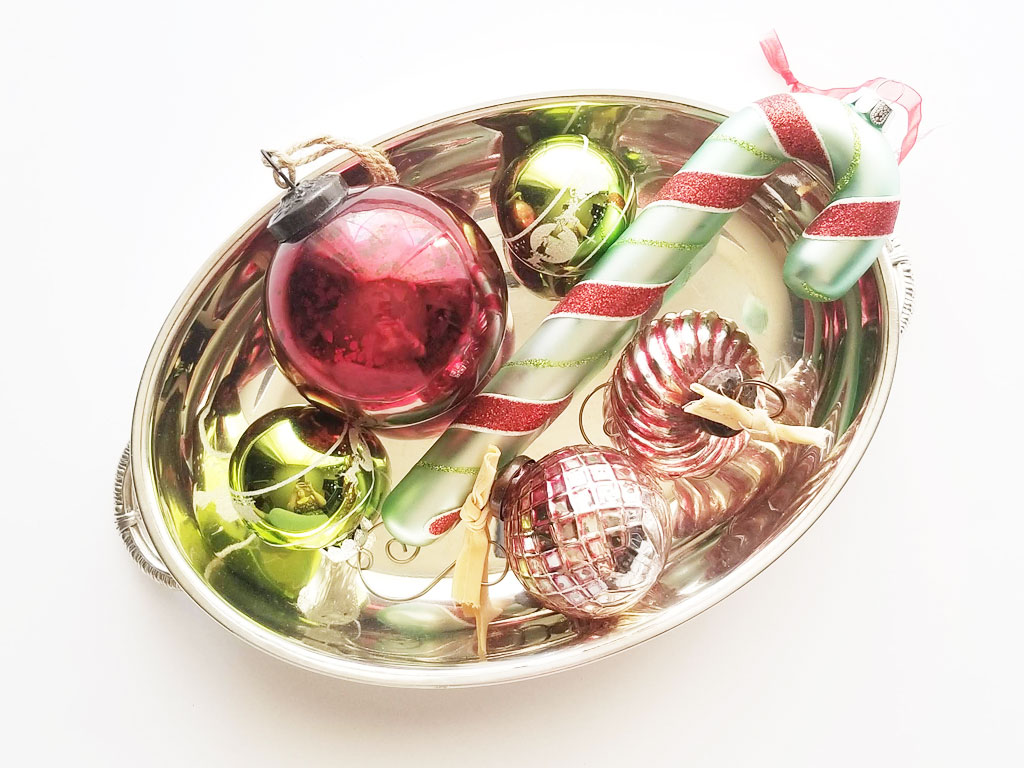
I love vintage ornaments. They have so many stories to tell! Recently I went with my mom and sister to Sweet Salvage in Phoenix and found so many lovely treasures! As usual, it’s hard to narrow my finds down to the best for me right now, but I had a specific goal in mind this year: I wanted to find a few vintage Christmas ornaments and a small silver tray to set on our TV console for the season.
When we temporarily moved from a large ranch-style home to a small condo earlier this year, in spite of our best intentions, all our holiday decorations ended up in the far back corner of the storage unit. Ain’t no one got time (or energy) to dig those out!

I figured a couple of little Christmas ornaments with lots of sparkle and charm, it could soften the blow of not having a Christmas tree. Or lights strung up. Or my Christmas village set out. Maybe that’s a stretch, really, but I have been determined to make the best of this challenging situation.
I ended up finding a handful of vintage Christmas ornaments and I love them! They make me so happy in all their sparkly, well-loved goodness. Some are truly vintage, some are replicas. But they go together well in the sweet little silver tray I found to group them in. It turned out to be a good plan with great results.

I also found this sweet little mug. I make up a batch of Cinnamon Pie Crust Cookies to have with my hot cocoa and peppermint tea and it feels pretty festive. That tiny little ornament and simple typewriter font “joy”! I mean, in the end, buying the mug was just obvious, right? I leave it out on my kitchen counter near the sink and it adds a bit more of a holiday touch.
I’ll take what I can get.