Tag: kitchen

Our All-time Favorite Granola

I’ve been making this granola for decades. The original recipe came from an old Make-A-Mix cookbook I got from my mom when I got married. I’ve tweaked it more than a few times since then, and that’s one of my favorite things about this recipe. It’s very adaptable to your taste and the season. In November I usually add pumpkin pie spice instead of cinnamon. In September, I’ll add apple pie spice. In the summer, I keep it pretty bare so we can add our favorite ripe fruit and a big spoonful of Greek yogurt. So good!

Once my husband and I became empty-nesters I tried halving the recipe a few times. I was met with deep disappointment from my favorite guy! I quickly realized if I wanted to keep him happy, I needed to just keep the granola in stock. Always.

Do you have a favorite granola yet? I’d love it if you’d give my recipe a try and let me know what you think. How do you adjust it for your family’s tastes?

Favorite Granola

Delicious granola with lots of room for personalization. Wonderful with yogurt parfaits, or with a little fruit and milk.
Prep Time 15 minutes
Cook Time 30 minutes
Course Snack
Cuisine American

Ingredients
  

  • 10 C. old-fashioned oats see notes
  • 1 C. sunflower seeds
  • 1 C. pepitas
  • 1/2 C. sesame seeds
  • 1/2 C. wheat germ
  • 1/2 C. flaxseed meal and/or chia seeds
  • 1/2 lb. shredded coconut sweetened or unsweetened, to taste
  • 1 C. sliced almonds
  • 2 C. walnut pieces
  • 1 C. brown sugar
  • 1 C. water
  • 1/3 C. vegetable oil
  • 1/2 C. honey
  • 1/2 C. molasses
  • 1 tsp. salt
  • 2 tsp. cinnamon see notes
  • 3 tsp. vanilla

Instructions
 

  • Preheat the oven to 300ºF. Line two large baking sheets with parchment paper or foil.
  • In a medium saucepan, combine brown sugar, water, oil, honey, molasses, salt, cinnamon, and vanilla.
  • Heat on medium low until sugar is dissolved, but don’t allow to boil.
  • Meanwhile, in a very large bowl, combine oats, seeds, wheat germ, flax seed meal, coconut, and nuts. Blend well.
  • Pour prepared syrup over dry ingredients and stir until well-coated.
  • Spread onto prepared sheet pans.
  • Bake for 30 minutes, stirring after fifteen minutes.

Notes

  • Try using a 5-Grain Cereal Mix (such as from WinCo’s bulk area) in place of the oats.
  • May use Apple Pie Spice or other favorite spices in place of, or in addition to, cinnamon.
  • Keeps up to six months in an airtight container.
Keyword breakfast, granola, nuts, oats, snacks

“Perfect” Valentine’s Day Sugar Cookies

Something “Old”

I had a lot of fun practicing my (amateur) cookie decorating skills this week. February is my husband’s birthday, Valentine’s Day, and our anniversary. Lots of reasons to celebrate with love-themed goodies!

I always make sugar cookies for Valentine’s Day and these Perfect Sugar Cookies with Red Hot Glaze are my sweetheart’s favorites. The cookies have a great balanced sweetness and wonderful texture – not too heavy, but strong enough to stand up to the glaze. And the icing starts with melted Red Hot candies – what’s not to love?!

Something New

I recently took a cookie decorating class from Markie of Honey & Heart Cookie Co. I’m no stranger to icing cookies and Markie gave us so much praise and encouragement that I felt totally comfortable trying her recipes for cookies and icing all by myself.

Oy.

Markie is a master. I’m not even really an apprentice!

But my cookies were still delicious and I’ll keep practicing those techniques because it was super fun. I’ve also signed up for another class with Markie at The Art House in Gilbert, AZ. If you’re in the area, I highly recommend The Art House and the cookie decorating classes.

Perfect Sugar Cookies

Perfect sweetness and wonderful, tender texture, these Perfect Sugar Cookies are great for icing or buttercream.
Prep Time 2 hours 30 minutes
Cook Time 9 minutes
Course Cookies & Bars
Cuisine Universal
Servings 2 Dozen

Ingredients
  

  • 1 C. butter softened
  • 1 C. granulated sugar
  • 2 eggs room temperature
  • 4 Tbsp. milk
  • 1 ½ tsp. vanilla
  • 3 ½ C. all-purpose flour

Instructions
 

  • In a large bowl, beat butter for 1 – 2 minutes until color lightens slightly.
  • Add sugar and beat until creamy.
  • Add eggs, milk, and vanilla and beat at medium speed until combined.
  • At low speed on the mixer, add flour one half cup at a time just until combined after each addition. Repeat until dough comes together and sides of the mixing bowl are clean. You may not need to add all of the flour.
  • Divide dough into two balls and roll each ball out between two sheets of parchment or waxed paper to about ½-inch and no thinner than ¼-inch. Place rolled dough still between parchment sheets on a baking sheet and chill in the fridge for at least 30 minutes. Meanwhile, preheat oven to 300°F.
  • Once chilled, remove one sheet of dough at a time from the fridge. Remove top layer of parchment or waxed paper, and cut dough with floured cookie cutters. Place cut cookies 2-inches apart on parchment-lined cookies sheets.
  • Bake cookies in a 300ºF oven for 8 – 10 minutes.

Notes

  • May add food coloring along with flour, if desired.
Keyword baked goods, cookies, cutout cookies, sugar cookies

How to Make Homemade Vanilla Extract

Did you know you can make homemade vanilla extract? It’s easy, affordable, and, most importantly, delicious! Plus it’s literally a perpetual supply with just the occasional refill, depending on how often you bake. I recently saw a video by Ina Garten on making homemade vanilla extract. She showed a jar with the most beautiful brown liquid in it and claimed she has kept that bottle of vanilla going for thirty years. THIRTY years!! That’s almost as long as I’ve been married! I like things that last. Plus, has anybody else noticed that vanilla is suddenly even more outrageously priced than ever??

Disclaimer: There are several product/store mentions and suggestions with at least one direct link. None of these are sponsored and I receive no kickbacks for anything mentioned. It’s just me, sharing my opinion and research.

Justifying My Experiment

My favorite bottle of vanilla extract at Costco is currently $34.99. I don’t drink alcohol, so I had no idea how much vodka would cost, but I figured there is no way the ingredients to make vanilla extract (vanilla beans and vodka or bourbon) – and factoring in how long it lasts – can be less cost-effective than that tiny bottle.

While I didn’t spend a lot of time bargain-hunting, I did some research at Winco and Costco. However, I didn’t want to just buy the first, expensive thing either. Between Winco and Costco, I figured I would have a pretty good idea of the range of costs and quality of products at most of my local grocery resources.

Gathering Supplies and Comparing Costs

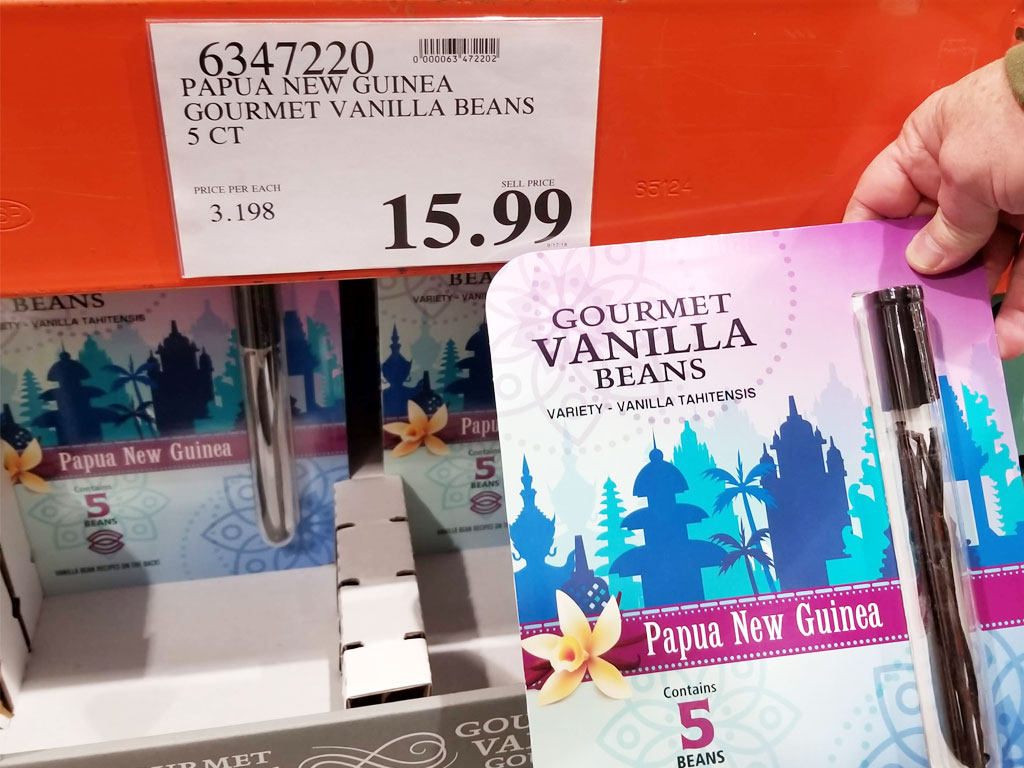
I started at Costco. They had a large bottle of vodka for $12.99. I have a 1.5-pint mason jar  (24 oz.)to put the vanilla in, so I figured with that bottle of vodka, I could make three or four jars. Cool concept if I had thought ahead about Christmas presents (it’s best to let the vanilla extract sit about six months before use), but I hadn’t. The vanilla beans at Costco are $15.99 for five beans. That’s about $3.20 per bean.

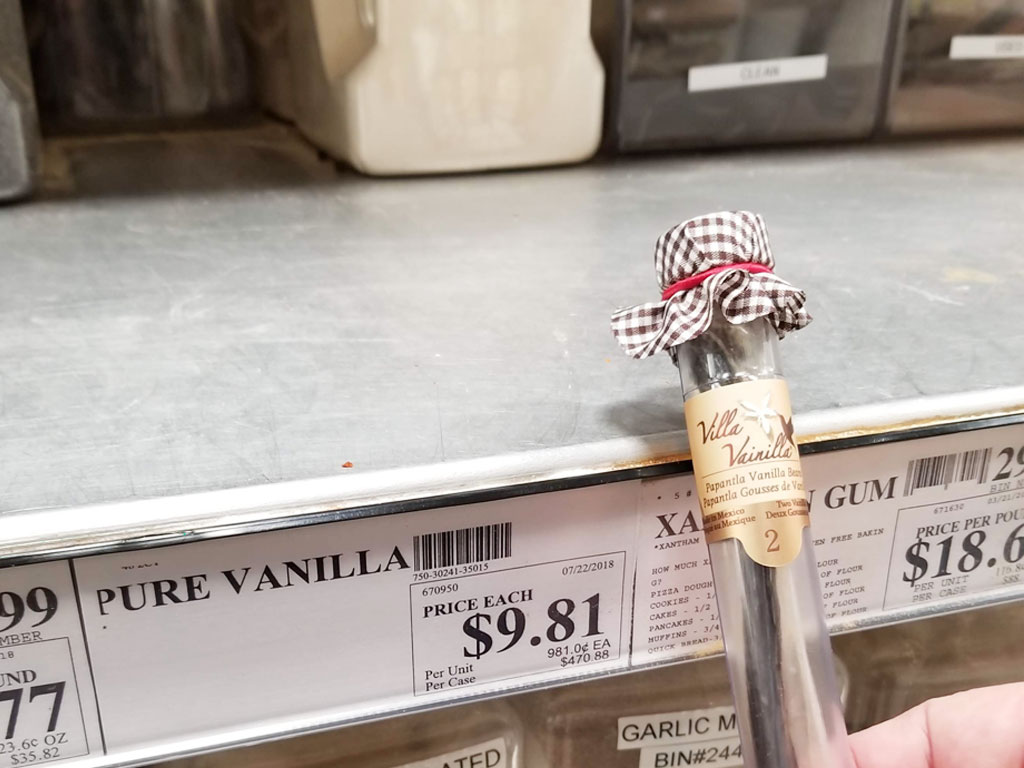
Then I headed next-door to Winco. The vanilla beans there were $9.81 for two. Yes, TWO. Which made their beans about $4.91 per bean. So, at this point, Costco definitely won the vanilla bean war.

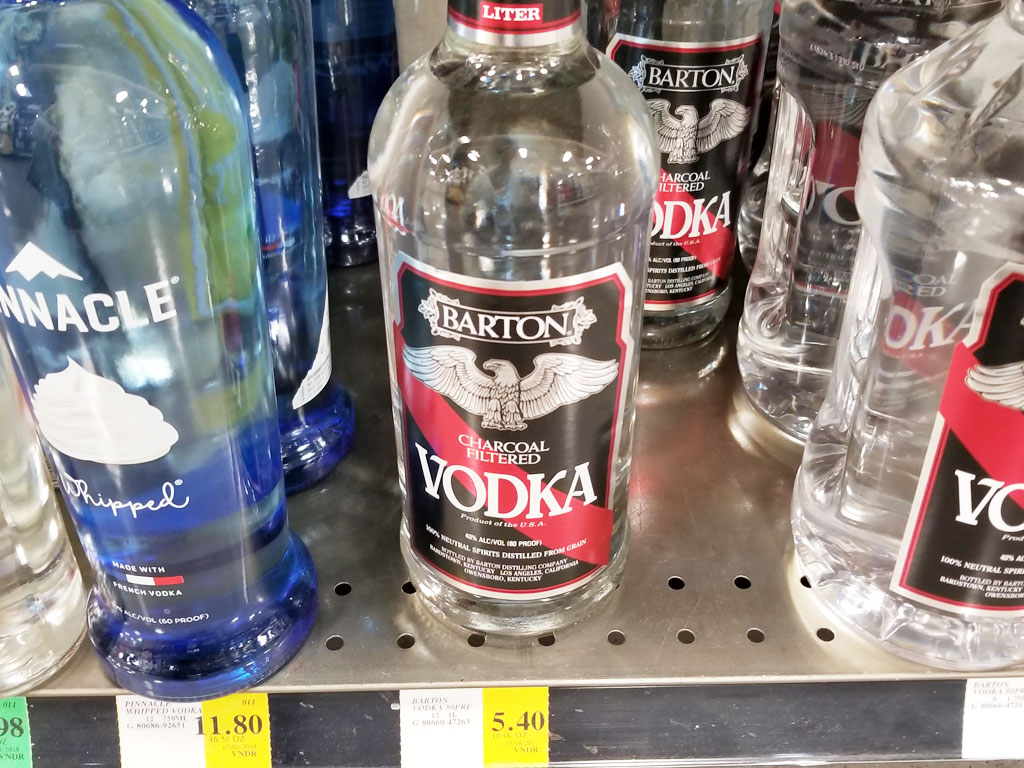
As for the vodka, I found a smaller – but still large enough – bottle for $5.40. My research showed that as long as it’s at least 80 proof, any vodka will do.

Pricing Vodka

I bought the vodka at Winco and then headed back over to Costco for two vials of vanilla beans – plus a couple of other things; it IS Costco, people! Besides I had walked back and forth between the two stores and needed snacks.

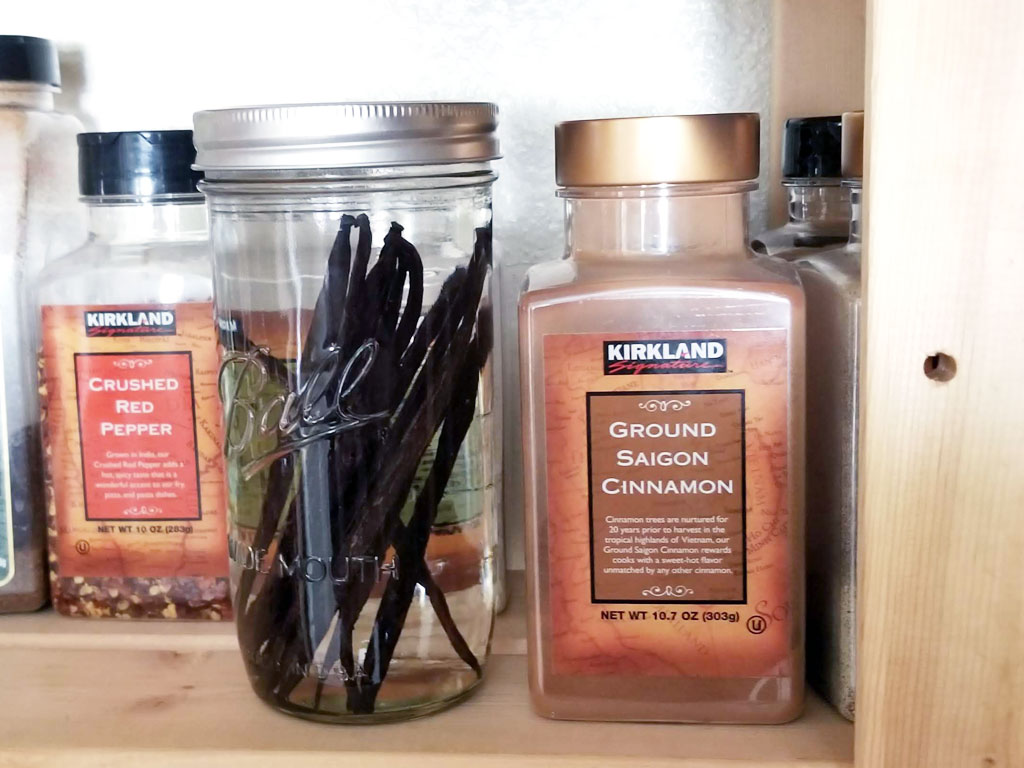
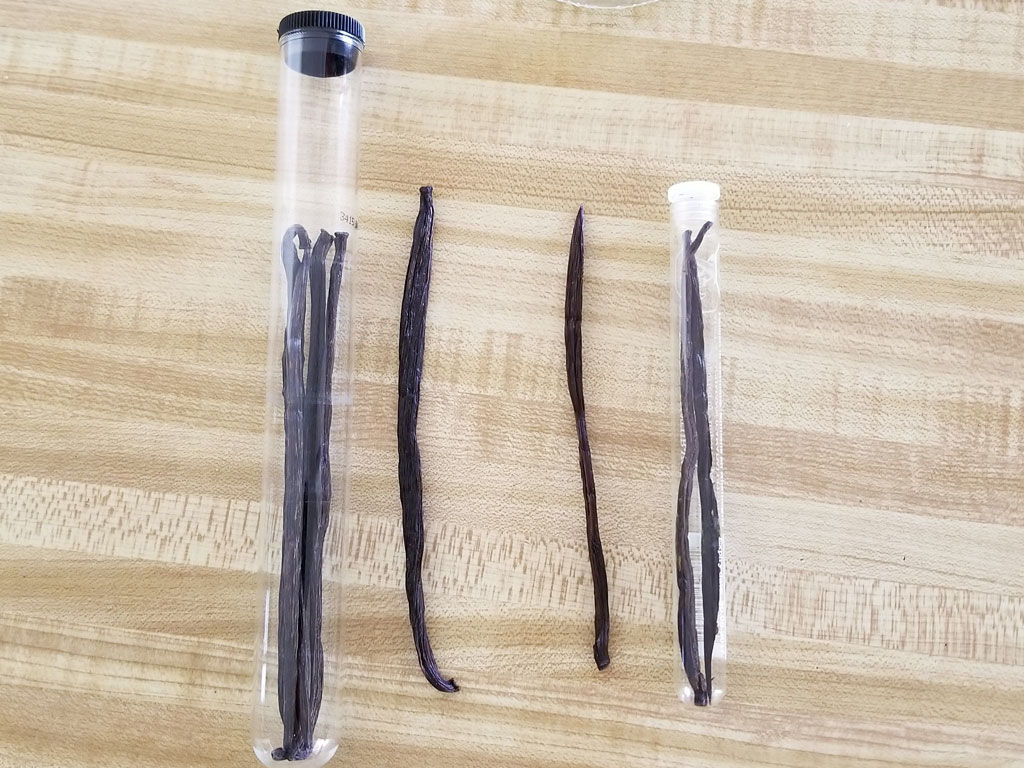
I happened to have a vial of vanilla beans I had purchased at Winco a couple of months ago for some homemade vanilla bean ice cream that never happened, so once I got home I did a quick comparison of beans:

Vanilla Bean Comparison

Ummmm…. Wha….??? The straight across cost comparison between Winco and Costco just got a whole lot more complicated. Or simpler, depending on your point of view. For me, once I saw the difference in quality, The Costco won again. Praise to The Costco…

Technically the “recipe” calls for between 12 and 24 vanilla beans per jar of extract. I had three beans at home already (the Winco vials use to have three, but currently only have two), so I purchased two vials from Costco. That gave me a total of 13 beans. I plan to add a few more in a couple of weeks – after my budget recovers from the initial set up.

Keeping it Simple

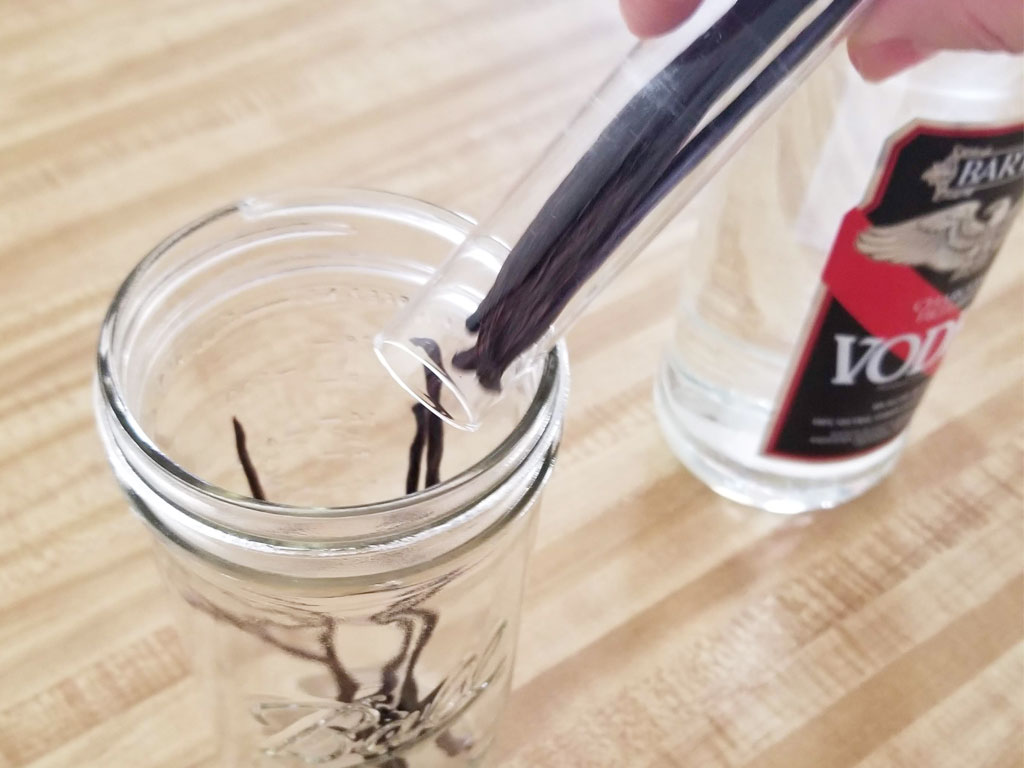
The actual process for making the extract is ridiculously simple. First, add 12 – 24 beans to a clean jar…

Make sure the jar is tall enough to handle the beans without bending or breaking. Also be sure there’s enough room between the lid and the beans so that the beans can be completely covered in the vodka.

Then, add enough vodka to cover the vanilla beans. Cover tightly, label and store.

That’s it!

Final Analysis

If I factor in the cost of the jar, it cost just over $40 to get my vanilla extract going.  I have a bit of vodka left over to top off the jar as I use it. That gives me 24 oz. of vanilla extract for $40; about $1.67 per ounce. My favorite extract at Costco currently costs $34.99 and has 16 oz. in it; about $2.19. I’ve already saved some money! And everything I’ve read said the flavor is incredible. I’ll keep you posted on that. Better yet, try it yourself and let me know how it goes.

While you technically can use homemade vanilla extract after aging for as little as one month, every source I read said to wait at least six months for full flavor. After that, you can not only use the extract itself, but can snip off the end of the beans and squeeze out the seeds. I’m super excited for that first batch of Homemade Vanilla Bean Ice Cream this summer!