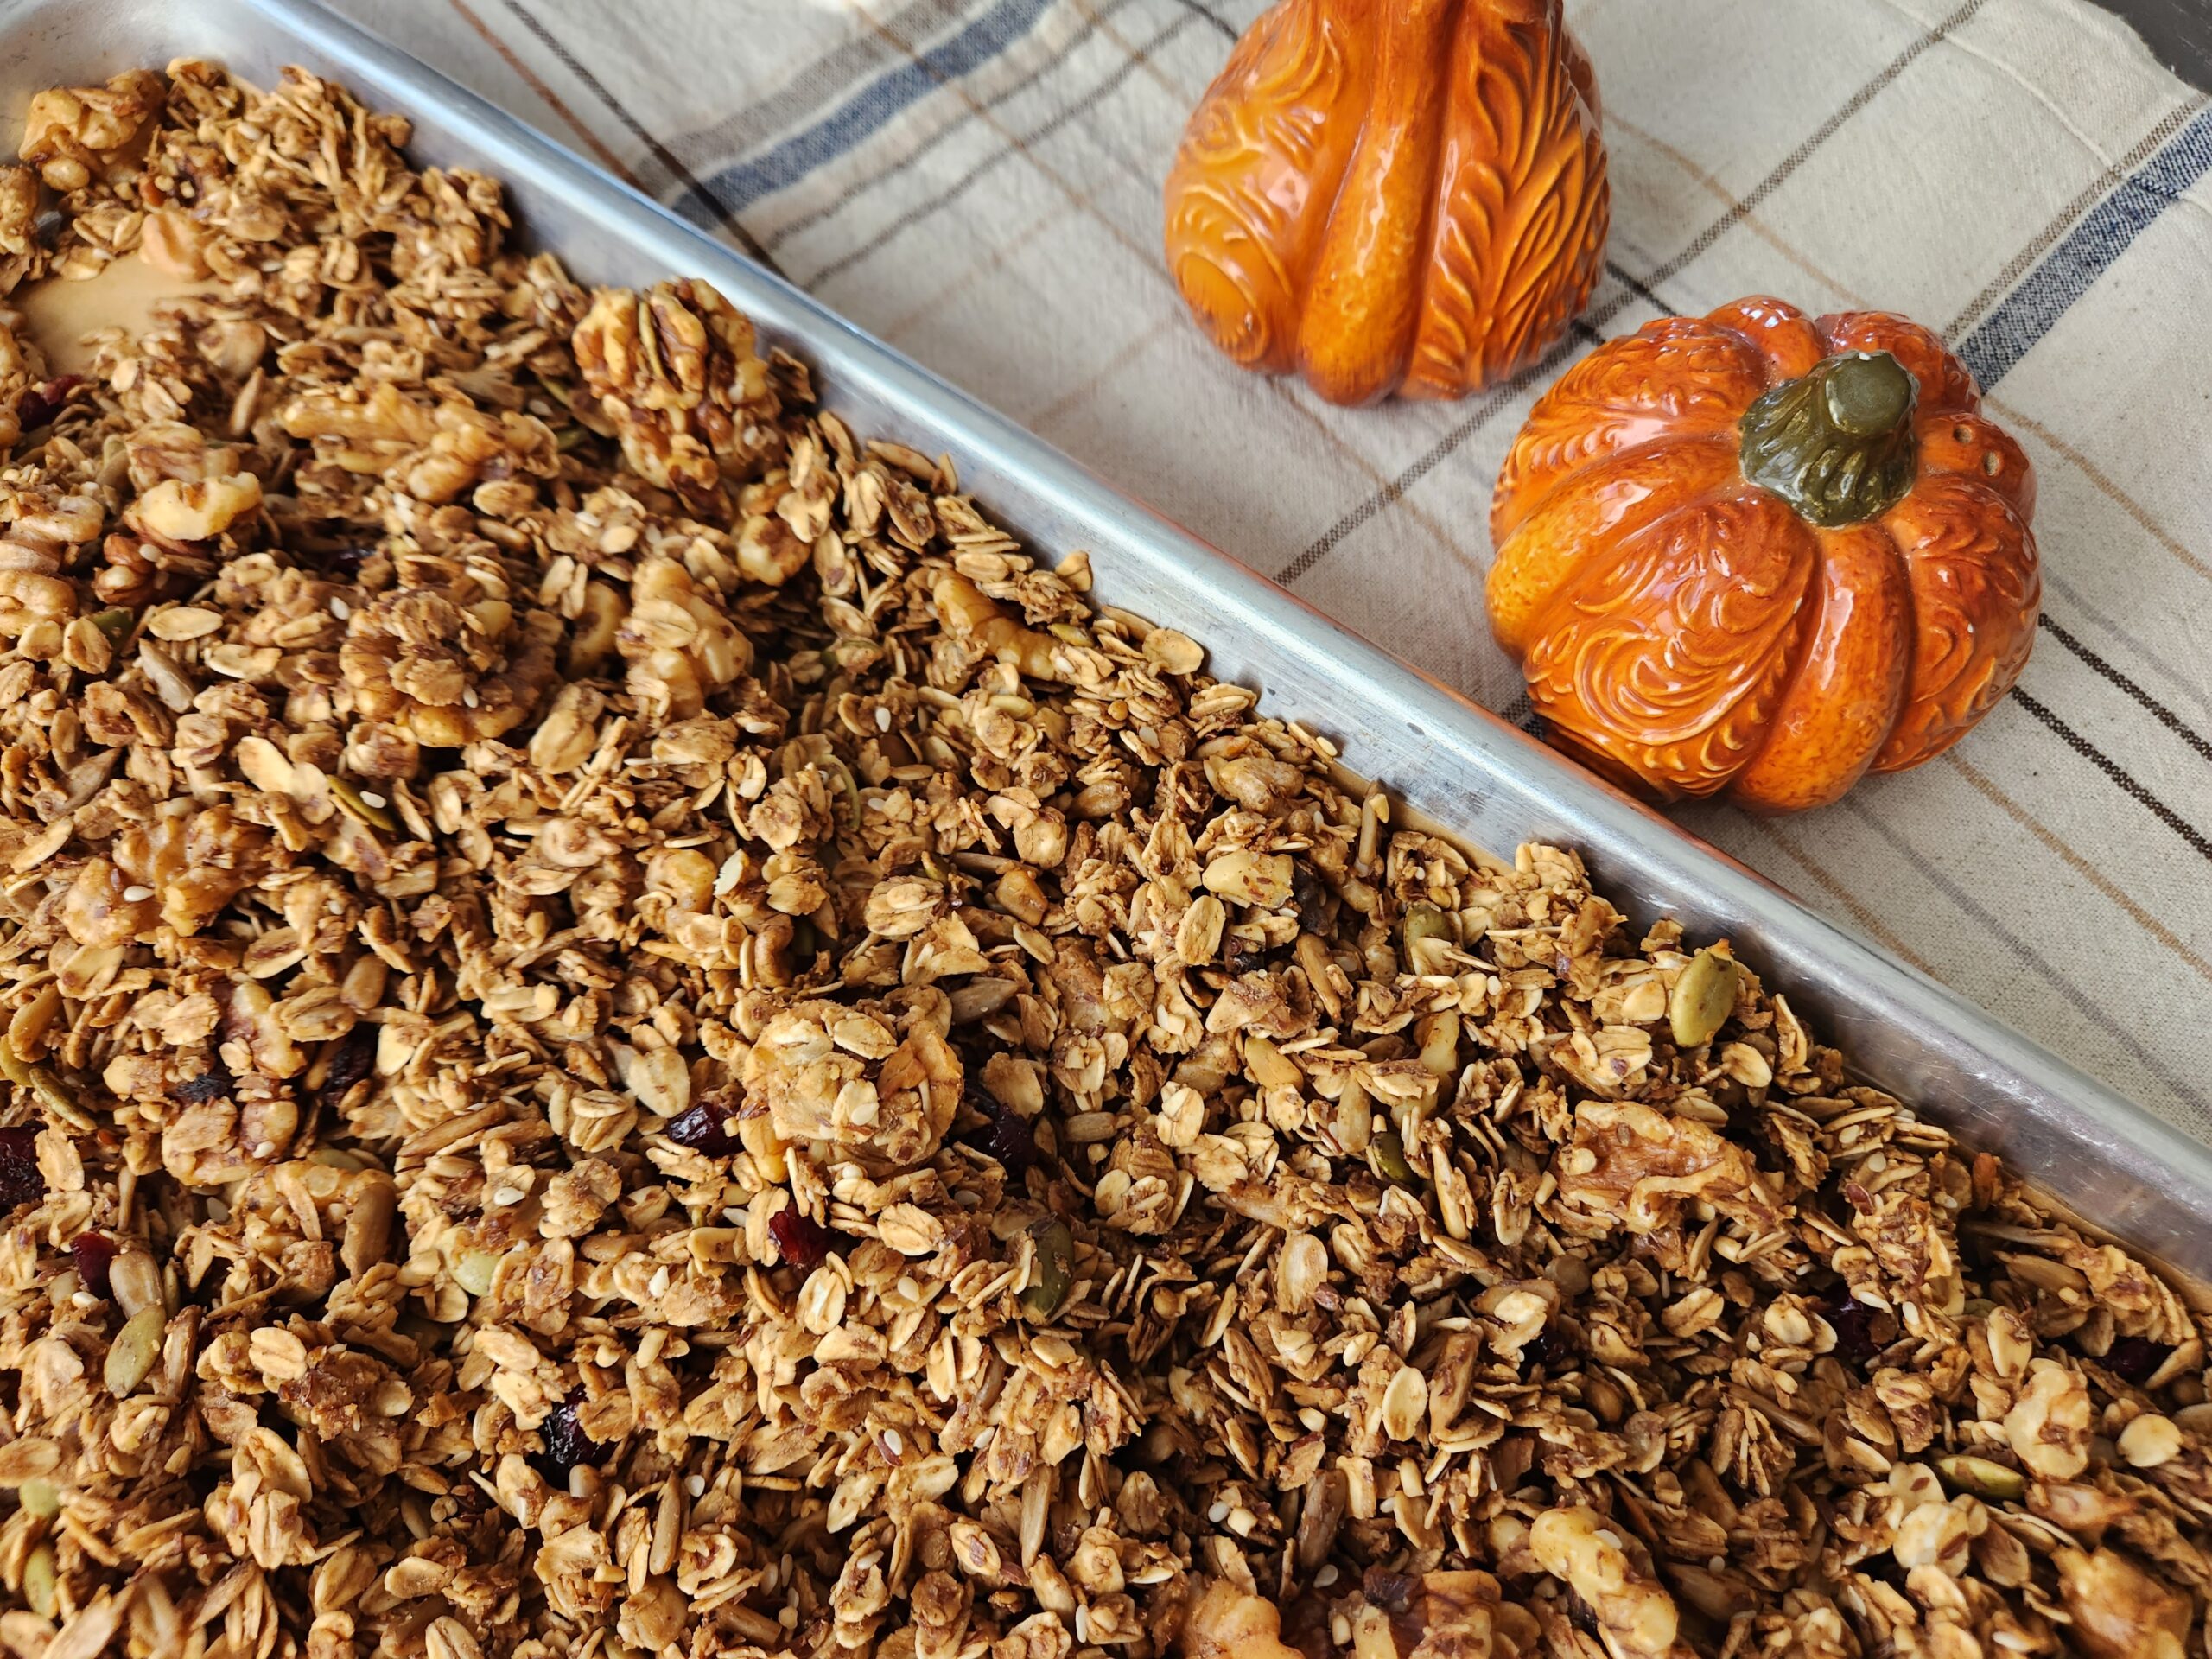
I’ve been making this granola for decades. The original recipe came from an old Make-A-Mix cookbook I got from my mom when I got married. I’ve tweaked it more than a few times since then, and that’s one of my favorite things about this recipe. It’s very adaptable to your taste and the season. In November I usually add pumpkin pie spice instead of cinnamon. In September, I’ll add apple pie spice. In the summer, I keep it pretty bare so we can add our favorite ripe fruit and a big spoonful of Greek yogurt. So good!
Once my husband and I became empty-nesters I tried halving the recipe a few times. I was met with deep disappointment from my favorite guy! I quickly realized if I wanted to keep him happy, I needed to just keep the granola in stock. Always.
Do you have a favorite granola yet? I’d love it if you’d give my recipe a try and let me know what you think. How do you adjust it for your family’s tastes?
Favorite Granola
Delicious granola with lots of room for personalization. Wonderful with yogurt parfaits, or with a little fruit and milk.
With your sourdough starter active and bubbly, you’re excited to create that first, beautiful loaf of classic sourdough bread. At first glance many sourdough bread recipes look quite involved, but generally they’re simple and maintenance. Preparation usually starts about 24 hours in advance of baking, but has a hands-on time of only about 15 minutes.
A Note About Tools
While there are lots of fun tools you can collect on your journey to the best sourdough bread, I recommend starting simple and minimal. You can always add more supplies as your skills and interest grow. As you experiment, you will find you prefer one method or tool over another. Patience gives you time to explore before you buy. You can probably even borrow a Dutch oven; perhaps the most expensive tool in your sourdough bread arsenal.
I suggest reading through any sourdough bread recipe multiple times before you actually start the process. Terms or instructions you may not understand can be searched out on the Internet or demonstrated by a friend or mentor. I find the sourdough community generous and willing to impart all the tips and tricks to help you succeed.
Lots of Options
There are tons of recipes online and hundreds of books available to help you learn more about the art of sourdough bread baking. I would recommend you try a few different resources to find the method you are most comfortable with. Some of my personal favorites include Anita Sumer, Breadtopia, and King Arthur Flour.
I’ve included lots of information in the Notes on this recipe, but feel free to reach out either here or on my Instagram if you have any questions. I love to help!
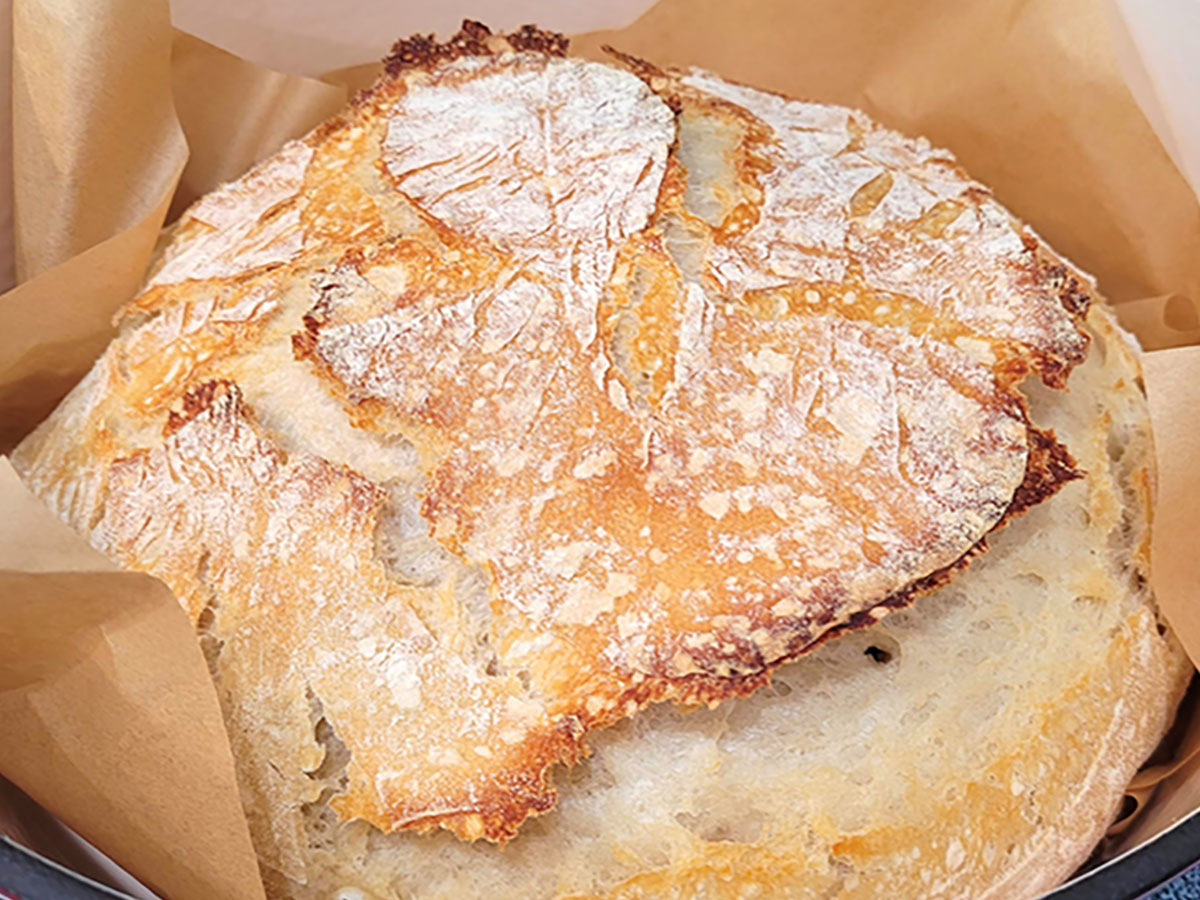
Classic Sourdough Bread
A simple, classic sourdough bread recipe perfect for practice and delicious enough to give as a gift!
Feed Starter: Approximately 24 hours prior to baking, feed sourdough starter 75 g water and 75 g flour; let expand. Keep an eye on it and try to use the starter at peak growth. Warm weather conditions can cause faster growth; cooler conditions may produce slower growth.
Mix: Approximately 12 hours prior to baking (when starter is at it's peak), in a large bowl or bowl of stand mixer, combine water, bubbly starter, and instant yeast, if using (see notes); stir lightly.
Add flour and mix until dough cleans the sides of the bowl. Dough will be soft, but should not be too sticky.
If mixed in a bowl with a center beater unit (Bosch, Nutrimill, etc.), remove dough from mixer, smooth into a ball, and place in a large bowl with room to work. Otherwise, dough can be left in the same mixing bowl.
Fold: Over the next hour, about every ten minutes, pull and turn the dough. Wet your hands lightly to keep them from sticking. Pull dough up from one side, lift just until dough resists the pull, then fold over toward the center of the ball. Turn the bowl a quarter turn and repeat three times more (a total of four folds).
Bulk Rise: Smooth the dough into a nice ball. Leave in the same bowl and cover. Allow to rise for 6 – 8 hours until roughly doubled in size. If timing is off (such as the dough would be doubled in the middle of the night), you can allow the dough to rise in the refrigerator for all or a portion of the bulk rise (see notes).
Laminate: Pour the dough onto a floured surface. Being careful not to tear the dough, gently "pull" it, stretching it into a large square. Only stretch as far as the dough allows. Try to feel the dough stretch and don't pull it too thin or allow it to tear.
Shape: Starting at the top, fold the dough like an envelope. Gently lift and fold the top third of the laminated dough over the center third. Then lift and fold the bottom third over the center. Next, lift and fold one side (left or right third) over the center, and, finally, the opposite side over. Then carefully turn the seam sides up and pinched them together to smooth the ball. Rest the ball on the counter, put your hands around the backside (furthest) from you, and gently pull the ball toward you, "dragging" the ball. The goal is to tighten the top of the dough ball. Move slowly and only pull it a couple of times. Try not to overwork the dough at this point.
Final Rise: Place the dough, smoothest side down, in a floured banneton, bowl, or Dutch oven lined with parchment paper. Allow to rise about two hours, until a bit puffy, but not doubled in size (doubling could cause over-proofing). If you poke it with your finger, it should leave a slight mark. Be sure to preheat the oven mid-way through the final rise (see next step).
During the last half of the final rise, preheat the oven and Dutch oven to 500°F. Most people feel preheating the Dutch oven (or baking vessel) gives the bread the best rise, but some people prefer not to preheat (see notes). Your personal preference will develop over time.
Score: Just before baking, turn the loaf out onto a piece of parchment paper. Score the top of the loaf if you would like to control the way the loaf pops open (see notes). Then pick the loaf up by the parchment sheet and set it in the preheated Dutch oven. Put the lid on and put it in the center of the oven.
Bake the loaf at 425° for 45 minutes. If you like a darker crust, remove the lid after 30 minutes. If you prefer a crispier all-around crust, remove the boule from the Dutch oven at the end of cooking time and place the loaf directly back on the rack in the oven for 3 – 5 minutes.
Cool: Allow the boule to cool for at least an hour before cutting. I know! Waiting is the worst! But the boule will continue cooking for a while after it comes out of the oven. Cutting into the bread sooner can cause the crumb to collapse or become gummy. It's worth it to wait.
Storage: There are so many options for storing sourdough. Many people simply leave it on a wood cutting board with the cut side down. You can also leave it in the open but with the cut end covered with aluminum foil. Both of these options help preserve the crust. There are also paper and plastic bags available at many larger supermarkets or Amazon. If we're going through the bread rapidly (within 2-3 days, I will leave it on the cutting board with the cut side down. Otherwise, I slice the loaf completely, place it in a plastic bread bag, and store it in the freezer. We can take a slice or two out of the freezer and within minutes have sourdough that feels and tastes as fresh as just baked.
Notes
Mix: The rising power of sourdough starters will get stronger over time. The first few loaves you bake may not have the greatest crumb structure or raise very much more than when you put it in the oven. Don’t give up! It takes time for the gluten structure to develop strength. If you keep using your starter regularly (once a week or so), it will grow stronger and more viable over time.
Mix: Because natural yeast can take time to develop or be a little finicky depending on weather and other conditions, I believe there is NO SHAME in adding a bit of baker’s or commercial instant yeast to sourdough. Even French bakeries are known to regularly use commercial yeast in their baked goods. It’s all about the final product. Even now, I regularly add 1/2 – 1 tsp of commercial yeast to my breads because I like to add a bit of whole wheat flour to my loaves. Whole wheat flour can be more dense and heavier and need a little extra lift. I love that my breads are basically sourdough. The tiny bit of commercial yeast is not a problem for me.
Bulk Rise: The refrigerator can be your friend in extending rise times, if needed. If your dough is taking a while to rise and would be ready in the middle of the night, cover it and put it in the fridge. It will last in the fridge for up to 24 hours (some say as much as 48 hours, but I have not personally tested that yet). When your ready to work with the dough again, take it out of the fridge and let rest at room temperature for about an hour before proceeding with the lamination process.
Final Rise: Dutch ovens are a classic way of baking sourdough bread. A Dutch oven will help retain the moisture that evaporates from the bread dough which gives a nice crust. Some people prefer to preheat their Dutch oven and some do not. I’ve seen nice, crusty sourdough loaves with both methods. I personally use a Lodge 3.2 quart Cast Iron Combo Cooker and preheat it. They’re decently priced on Amazon, multi-function, and, in my opinion, super easy to work with. I also have a very inexpensive 365+ Ikea pan with glass lid that works fine. Use what you have if you’re not sure you’re ready to invest.
Score: Because of the moisture content in sourdough, the steam will look for an escape route. You can provide a direction for the steam by using a bread lame or very sharp knife to score the top of the boule. This score can be a simple slice along one side of the top of the loaf, or it can be fancy. You can also leave it be and allow the steam to burst out on it’s own. Some bakers prefer the nice, clean designs of the cut, and some love the rustic feel of the burst. Again, your preference will develop and there are lots of fun designs. A simple Pinterest or Google search should provide tons inspiration.
Natural yeast, sourdough starter, levain are all names that mean essentially the same thing: A natural yeast product that is produced at home using simple ingredients, time, and patience. Natural yeast is used to leaven or “raise” baked goods either in place of, or in addition to, the baker’s/commercial yeast purchased at the grocery store. Natural yeast was the method used by our ancestors long before commercial yeast was produced and supplied (in the 1940s) to the home baker.
Sourdough starters work by activating the yeast bacteria already present in flour, water, the air, etc. These beneficial bacteria feed on the gluten (sugar) in flour and break it down. This process is what creates the glutenous structure to baked goods. This pre-digestion often makes baked goods more tolerable and easily digested. The feeding bacteria also produces gasses that form bubbles and help raise the dough.
While store bought yeast definitely has it’s place, having your own starter on hand, or at least knowing how to make one, can bring a lot of satisfaction and comfort.
Gather Supplies
Start with a clean pint or quart jar that has a lid. I use canning jars and plastic lids, but there are lots of options. Just be sure your jar has a wide mouth to make it easier to work with. You’ll also need something to stir with. I use a straight silicone spatula, but you can also use the handle end of a wooden spoon, etc. There is some belief that using metal to stir your starter will have a negative effect on it, but I’ve seen people use metal spoons with no issues.
A word about ingredients: Technically, the higher quality flour you use, the stronger your starter will be. If you have access to a high-quality organic flour, I would recommend it. It gives your starter a better fighting chance, so to speak. But use what you have; in the long run, what you have is better than what you don’t.
Also, the amount of flour isn’t necessarily important. I’ve seen people create starters with as little as one teaspoon flour or as much as 3/4 cup. I’ve developed a method that works for me and that’s what I’m sharing with you. I add two tablespoons at a time because I don’t like the waste that comes with larger quantities. There is a way to use larger quantities and make what is called “discard”, but for just getting started, I like to start small.
You’ll also use water to create the starter. Try to use filtered water. If you want or need to use tap water, just be sure to leave it on the counter for at least 20 minutes before using it. The chlorine in most tap water can have a negative effect on the starter’s development.
Now For the Good Part…
Take a clean jar and add two tablespoons flour to it. Then add about 1 1/2 tablespoons water and give it a good stir. Make sure there is no dry flour left. The starter will look similar to thick pancake batter; a little lumpy but not too wet. If you need to add a little water or a little flour to get that consistency, just take it very slowly. At this point, drops will go far. This is called a “feed”; we are “feeding” the starter so it can activate.
After incorporating the flour into the water, scrape the sides of the jar and mound the starter up in the center of the jar bottom (see photo). Then put the lid on, tighten it, and then back the lid off about half a turn; just enough to let the starter breath as it creates the gases that form the bubbly starter. You can also lay a light plate on top. If you have a jar with a glass lid and metal clamps, you can lay the glass lid on top and not use the clamps. Then leave the starter on the kitchen counter.
For the next three days, give the starter some extra attention. If you created your sourdough starter in the morning, the schedule would look like this:
1st morning: Create starter
Before bed: Feed and stir well (same quantities/method as above)
2nd morning: Feed again and stir well
Before bed: Feed again and stir well
3rd morning: Feed and stir
Before bed: Stir only
4th morning: Feed and stir
Before bed: Stir only
5th morning: Feed and stir
Before bed: Stir only
And so on until about the 10th day
What to Expect from Natural Yeast
You should see bubbling and growth by the fifth through tenth day. After the fifth day, the starter may start growing after you feed it. When you feed your starter and notice a few hours later that it has doubled in size, this is considered an “active” starter. This is the point you want to use it for baking. If you’re looking for a simple sourdough bread to get started with, check out my Simple, Classic Sourdough Bread recipe. Once your starter reaches full peak, if you don’t use it, the starter will start to die down again. That’s ok! It’s just resting until you feed it again.
Next Steps
Once your sourdough starter or natural yeast is active, you can use it to make bread and other baked goods. Know that the best breads come from mature starters. Meaning, the longer you have your starter, the stronger it will get. Your first few loaves may not rise very high or develop a great crumb, but it should still taste great and, with each feed, your starter gets stronger.
After about the fifth day, you may be starting to run out of room in the jar for your starter to double. If you’re not ready to bake with it, you can either discard the “extra” (literally throw it away), or you may want to create a discard jar and save it for other uses. Either way, just discard all but about a quarter cup of starter and then feed as normal. I’ll talk more about discards in another post, but you’ll want to use discard up within a couple of weeks. There are a ton of great recipes online for using discard.
Maintaining Your Sourdough Starter
Finally, it may seem overwhelming to maintain a starter every day. You don’t have to! Once you’ve got an active starter, depending on how often you bake, you can store your starter in the fridge and only feed it once a week. The general rule of thumb is if you bake twice or more per week, then store it on the counter. If you bake once a week or less, store it in the fridge. I keep mine in the fridge and take it out once a week or twenty-four hours before I want to bake with it. I let it come to room temperature for about an hour, then feed it. Sometimes, it wants two feeds after it’s been in the fridge, but it’s still strong and active. This also works if you go on vacation or just need a break. I’ve kept mine in the fridge without any attention for several months and been able to reactivate it within a few days.
I know sourdough can feel overwhelming, but it’s really a super simple process once you get used to it. Feel free to ask any questions either here or on my Instagram. I love to help!
A few years ago, my mom brought us this magical cheese dip with a bag of Bugles. My first thought was, “Bugles? I don’t think I’ve ever eaten Bugles in my life!” But that dip turned out to be the real surprise – so good! I got the recipe from my mom and was really surprised to see how super simple it is; basically just jarred cheese, cream cheese, and a few additional touches.
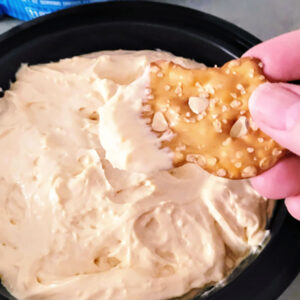
Since being introduced to Bugle Dip, our family has switched to pretzels as the dipping medium of choice, and altered the original recipe some. We love to dip pretzels, Fritos, crackers!
Pretzel Dip
Simple cheesy dip for pretzels, celery, or anything you'd like. Easily adaptable to suit your taste. Addictive!
In a medium bowl or food processor, bring cream cheese to room temperature.
Add remining ingredients and blend/process together until smooth.
Adjust mayonnaise to dipping consistency and Worcestershire and onions to taste.
Chill at least one hour before serving.
Notes
The original recipe calls for two blocks of cream cheese, but we prefer the Old English flavor to be a bit more obvious.
Find Kraft Old English Cheese Spread near the shelf-stable cheese products. During the holidays it can be especially difficult to find so we always stock up earlier in the year.
If you don’t have fresh onions on hand, a little onion powder substitute works great. Also awesome with no onions at all!
Great with pretzels, Fritos, Bugles, celery, crackers, or just about anything dippable!
Keyword cheese, dip, pretzels
Whatever you choose to dip in Pretzel/Bugle Dip, I hope you enjoy it! Please let me know if you try it and how your family likes it.
I had a lot of fun practicing my (amateur) cookie decorating skills this week. February is my husband’s birthday, Valentine’s Day, and our anniversary. Lots of reasons to celebrate with love-themed goodies!
I always make sugar cookies for Valentine’s Day and these Perfect Sugar Cookies with Red Hot Glaze are my sweetheart’s favorites. The cookies have a great balanced sweetness and wonderful texture – not too heavy, but strong enough to stand up to the glaze. And the icing starts with melted Red Hot candies – what’s not to love?!
Something New
I recently took a cookie decorating class from Markie of Honey & Heart Cookie Co. I’m no stranger to icing cookies and Markie gave us so much praise and encouragement that I felt totally comfortable trying her recipes for cookies and icing all by myself.
Oy.
Markie is a master. I’m not even really an apprentice!
But my cookies were still delicious and I’ll keep practicing those techniques because it was super fun. I’ve also signed up for another class with Markie at The Art House in Gilbert, AZ. If you’re in the area, I highly recommend The Art House and the cookie decorating classes.
Perfect Sugar Cookies
Perfect sweetness and wonderful, tender texture, these Perfect Sugar Cookies are great for icing or buttercream.
In a large bowl, beat butter for 1 – 2 minutes until color lightens slightly.
Add sugar and beat until creamy.
Add eggs, milk, and vanilla and beat at medium speed until combined.
At low speed on the mixer, add flour one half cup at a time just until combined after each addition. Repeat until dough comes together and sides of the mixing bowl are clean. You may not need to add all of the flour.
Divide dough into two balls and roll each ball out between two sheets of parchment or waxed paper to about ½-inch and no thinner than ¼-inch. Place rolled dough still between parchment sheets on a baking sheet and chill in the fridge for at least 30 minutes. Meanwhile, preheat oven to 300°F.
Once chilled, remove one sheet of dough at a time from the fridge. Remove top layer of parchment or waxed paper, and cut dough with floured cookie cutters. Place cut cookies 2-inches apart on parchment-lined cookies sheets.
Bake cookies in a 300ºF oven for 8 – 10 minutes.
Notes
May add food coloring along with flour, if desired.
Keyword baked goods, cookies, cutout cookies, sugar cookies